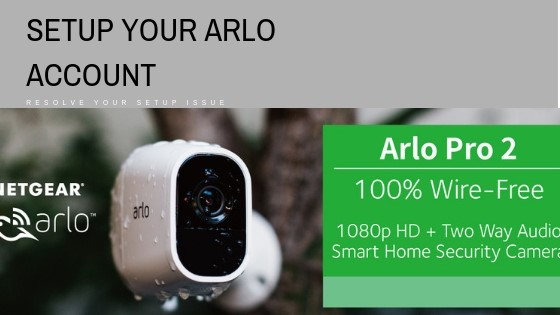
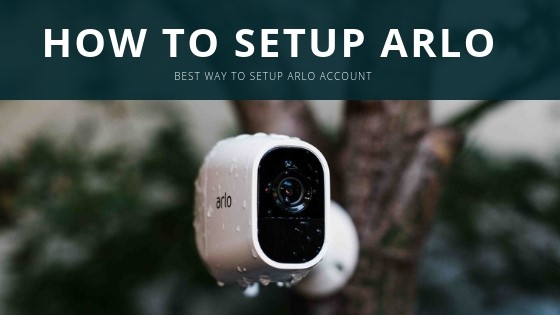
Security cameras are a must to enhance the security be it home, office or a large building. Generally, people hire some experts for installing and configuring cameras in the large building. However it is very easy to install these cameras at home also, all you need to know is how to set up your Arlo camera properly to keep your eyes on surrounding, Arlo pro is one of the best systems which you can set up it in your home while you are away.
Here is a step by step guide which illustrates the Installation procedure
Step 1- Download and set up the Arlo App
- Download and install the Arlo android app from the play store.
- Then open the App and click “New To Arlo Account”
- Next, you need to select that option for which you are going to set up your Arlo account “Arlo wire-free”
- In the next step, the app tells you to install an Arlo base station hub
- Once you are done with Arlo base station then hit “Continue” in the app
The app will automatically search for hub you need to wait for the power up
- Once ready, choose the time zone in the app
- After selecting time zone hit save in the right corner and press back arrow in the top left corner.
- Then “Continue” and proceed
Next, you need to select a base station name. You can choose any base station name as per your choice then hit “Continue”
Step 2:- Create a Netgear Account
- In this step, you need to setup your Netgear account. In this just type your mail id and hit the “Continue” button.
- Then select the name or password of your account by which you want to create your account.
Step 3:- Sync your Arlo Camera to Base station

- After setup, we need to sync Arlo camera to the base station. You can do this on one camera at a time. Before doing this makes sure your camera is a couple of feet from your Arlo base station while syncing process. Then hit “Continue” in the app
- Installing the batteries properly is a must before starting of the syncing process. So make sure the battery is installed properly.
- Press the sync button on top of the base station it will take around two seconds and the green light begin to blink.
- Then press the same button on the camera until the blue light blue light starts to blink.
When the camera and base station both are on sync mode will connect automatically.
- Once the camera and base station get connected hit continue in the app until the sync gets completed. This completes the process. You can repeat the same steps for adding more cameras.
Step 4: Update firmware and Base station
- After completion of syncing of your camera, you will hit the “Finish” you will reach on the main screen of Arlo App where you will see the green button to update Arlo base station setup just click on that and wait till the updating done.
- Do the same thing for a camera to update your camera firmware
Step 5:- Check your Arlo Security system
- Once you are done updating everything you need to tap the “live” button to see your camera live.
Following these simple steps, anyone can install the Arlo camera and sync them with Arlo base station. This app has got a bundle full of features. By the use of this app, you can set an alarm, record a video, take a snap photo or can enable or disable the audio while capturing the images. Many more other features are also there which we will be covering in future posts. So please keep following our posts.


